Shader 강좌와 함께 배워보는 XNA Framework (3) - 텍스처 매핑 예제
지난번 글에 이어서.
Shader 강좌와 함께 배워보는 XNA Framework (2) - RenderMonkey의 Shader/Model 파일 연동
; https://www.sysnet.pe.kr/2/0/1197
역시나 처음으로 "texture mapping"이라는 것도 해보게 되는군요. ^^
[포프의 쉐이더 입문강좌] 03. 텍스처매핑 Part 1
; http://kblog.popekim.com/2011/12/03-part-1.html

[포프의 쉐이더 입문강좌] 03. 텍스처매핑 Part 2
; http://kblog.popekim.com/2011/12/03-part-2.html
위에서 "Part 1"의 실습을 하면 RenderMonkey 도구의 "Vertex Shader" 코드만 포함하고 있기 때문에 정상적인 결과물을 볼 수 없습니다. 그래서 "Part 2" 강좌의 초입에 나오는 "Pixel Shader" 코드를 마저 입력해 주어야 컴파일이 성공하고 "Stream Mapping"까지 완료해야만 정상적인 지구본 모양의 이미지를 볼 수 있습니다.

그렇게 렌더몽키 실습이 완료되었으면 본격적으로 XNAFramework 예제로 넘어가게 되는데요.
우선, 새롭게 실습한 RenderMonkey의 결과물을 각각 Sphere.x와 TextureMapping.fx 파일로 저장하고 TextureMapping의 원본으로 사용된 이미지 earth.jpg도 렌더몽키의 설치 디렉토리로부터(보통, C:\Program Files (x86)\AMD\RenderMonkey 1.82\Examples\Media\Textures) 복사해서 XNAMFramework 프로젝트에 복사합니다.
코드는
지난번의 예제 프로젝트를 기반으로 변경해 볼 텐데요.
WindowsGame1Content 프로젝트에 있는 기존 .x, .fx 자원을 삭제하고 새롭게 Sphere.x, TextureMapping.fx, earth.jpg 파일을 추가해 준 후 코드에 적용해 주는데, Sphere.x와 TextureMapping.fx는 기존 코드에 이미 Model/Effect 타입으로 정의되어 있기 때문에 이름만 바꿔주면 되고, earth.jpg 파일에 대해서는 Texture 타입으로 로드를 해줍니다.
Model _earthModel;
Effect _textureMappingShader;
Texture _earthTexture;

protected override void LoadContent()
{
    spriteBatch = new SpriteBatch(GraphicsDevice);

    _spriteFont = Content.Load<SpriteFont>("Font");
    _earthModel = Content.Load<Model>("Sphere");
    _textureMappingShader = Content.Load<Effect>("TextureMapping");
    _earthTexture = Content.Load<Texture>("Earth");
}
마지막으로 _earthTexture 자원을 _textureMappingShader에 연결하는 코드를 넣어주면 끝입니다.
protected override void Draw(GameTime gameTime)
{
    GraphicsDevice.Clear(Color.CornflowerBlue);

    _matView = Matrix.CreateLookAt(new Vector3(0, 0, -200), new Vector3(0, 0, 0), new Vector3(0, 1, 0));
    _matProjection = Matrix.CreatePerspectiveFieldOfView(FOV, ASPECT_RATIO, NEAR_PLANE, FAR_PLANE);
    _matWorld = Matrix.Identity;

    _textureMappingShader.Parameters["gWorldMatrix"].SetValue(_matWorld);
    _textureMappingShader.Parameters["gViewMatrix"].SetValue(_matView);
    _textureMappingShader.Parameters["gProjectionMatrix"].SetValue(_matProjection);
    _textureMappingShader.Parameters["DiffuseMap_Tex"].SetValue(_earthTexture);

    ... [생략] ...
    base.Draw(gameTime);
}
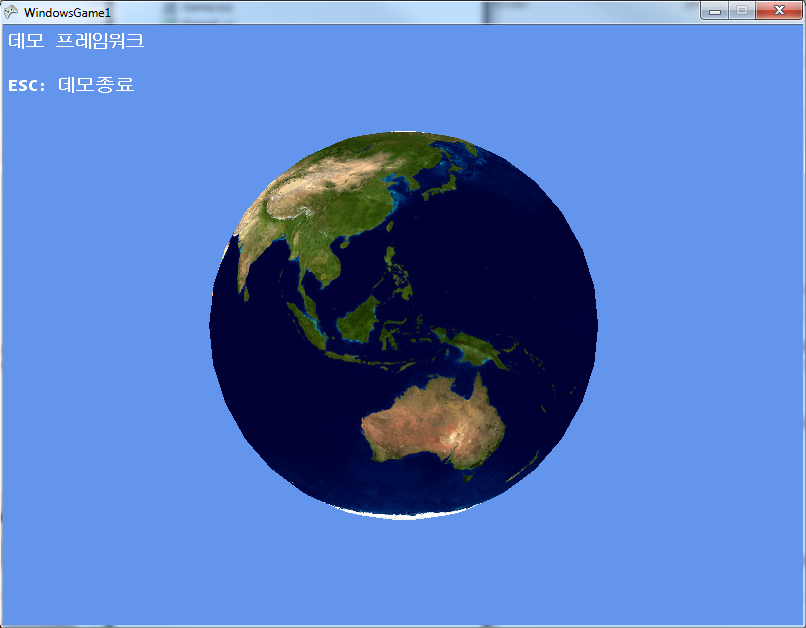
이제 빌드하고 실행하면 ^^ 정상적으로 지구본이 출력되는 것을 확인할 수 있습니다.
부가적으로, Part 2 강좌를 보면 지구본을 돌려주는 효과를 내도록 코드를 추가하고 있는데요. XNA에서도 다음과 같이 _matWorld 코드를 초기화하도록 변경해 주면 됩니다.
float _rotationY = 0.0f;

protected override void Draw(GameTime gameTime)
{
    GraphicsDevice.Clear(Color.CornflowerBlue);

    _matView = Matrix.CreateLookAt(new Vector3(0, 0, -200), new Vector3(0, 0, 0), new Vector3(0, 1, 0));
    _matProjection = Matrix.CreatePerspectiveFieldOfView(FOV, ASPECT_RATIO, NEAR_PLANE, FAR_PLANE);

    _rotationY += 0.4f * PI / 180.0f;
    if (_rotationY > 2 * PI)
    {
        _rotationY -= 2 * PI;
    }

    _matWorld = Matrix.CreateRotationY(_rotationY);

    ... [생략] ...
}
다시 F5 키를 눌러서 실행하면, ^^ 와~~~ 지구본이 정말로 회전합니다.
 첨부된 파일은 위의 코드를 포함한 예제 프로젝트
입니다.
참고로, 위의 글을 읽다 보면 UV 좌표라는 말이 나오는데요. 생소해서 찾아보니 다음과 같이 잘 설명된 글이 있습니다.
각종 3D 좌표 체계 정리
; http://bklist.egloos.com/tag/UV좌표/page/1
(위의 글을 보면, DirectX와 OpenGL의 z 좌표값이 반대로 된 것을 볼 수 있습니다. 개발자들 편하게 좀... 저런 건 맞춰주면 좋지 않았을까요? ^^;)
어쨌든 ^^ 잘 모르지만 이런 식으로 가랑비에 옷 젖듯 배워나가는 것도 좋겠지요.
마지막으로, 제 경우에 RenderMonkey 작업 시에 빌드를 했을 때 다음과 같은 오류가 발생해서 애를 먹었습니다.
Compiling vertex shader API(D3D) /../TextureMapping/Pass 0/Vertex Shader/
COMPILE ERROR: API(D3D) /../TextureMapping/Pass 0/Vertex Shader/ c:\program files (x86)\amd\rendermonkey 1.82\memory(17,11): error X3000: invalid target or usage string
RENDERING ERROR(s):
Vertex shader 'Vertex Shader' failed to compile in pass 'Pass 0'. See Output window for details
처음엔 에러가 발생했다는 것만으로 당황해서 어찌할 줄 몰랐는데 "COMPILE ERROR"에 보면 (17,11)이라고 라인 수가 17에서 "invalid target or usage string"에 해당하는 오류가 났다는 것을 알게 되었습니다.
01: float4x4 gWorldMatrix;
02: float4x4 gViewMatrix;
03: float4x4 gProjectionMatrix;
04:
05: struct VS_INPUT
06: {
07:    float4 mPosition : POSITION;
08:    float2 mTexCoord : TEXCOORD0;
09: };
10:
11: struct VS_OUPUT
12: {
13:    float4 mPosition : POSITION;
14:    float2 mTexCoord : TEXCOORD0;
15: };
16:
17: VS_OUTPUT vs_main(VS_INPUT Input)
18: {
VS_OUTPUT으로 되어 있는데, 11행에 보면 VS_OUPUT으로 실수했기 때문에 그런 에러가 발생한 것입니다. 나름, 오류가 발생한 위치를 알려주기 때문에 다음부터는 RenderMonkey의 컴파일 오류에 당황하지 않게 될 것 같습니다. ^^
[이 글에 대해서 여러분들과 의견을 공유하고 싶습니다. 틀리거나 미흡한 부분 또는 의문 사항이 있으시면 언제든 댓글 남겨주십시오.]