WSL 2 + Ubuntu 환경에서 GNU Octave 설치
예전에 Windows에서 Octave를 설치했었는데요, 근래에 나온 8.1.0 버전의 경우 윈도우에서는 JRE 문제도 없어졌습니다.
이번에는, 재미 삼아 WSL 2 환경의 Ubutn 20.04 또는 18.04에서 Octave를 다음의 명령어로 설치해 보겠습니다.
$ sudo apt update && sudo apt upgrade -y

$ sudo apt install octave         // 필수
$ sudo apt install liboctave-dev  // 선택

// 제거

$ sudo apt remove octave
$ sudo apt remove liboctave-dev
음... 버전이 좀 아쉽군요. ^^
$ octave --version
GNU Octave, version 5.2.0
Copyright (C) 2020 John W. Eaton and others.
This is free software; see the source code for copying conditions.
There is ABSOLUTELY NO WARRANTY; not even for MERCHANTABILITY or
FITNESS FOR A PARTICULAR PURPOSE.

Octave was configured for "x86_64-pc-linux-gnu".

Additional information about Octave is available at https://www.octave.org.

Please contribute if you find this software useful.
For more information, visit https://www.octave.org/get-involved.html

Read https://www.octave.org/bugs.html to learn how to submit bug reports.
20.04의 경우 5.2.0 버전이 설치되고, 18.04의 경우에는 4.2.2 버전이 설치됩니다.
문서에 보면 별도의 ppa repo를 추가하면 된다고 하는데요, 그런데 실제로 해보면,
$ sudo add-apt-repository ppa:octave/stable
 The latest version of GNU Octave built for all supported Ubuntu releases. GNU Octave is normally distributed with Ubuntu, this PPA is for you if you have a need to use a newer version of Octave than what you can already get from your installed version of Ubuntu.

Simply follow the instructions below to add this PPA to your system and install the octave package. If it's not that easy or you encounter any errors, contact the team and let us know.

Much credit goes to the Debian Octave Group who maintain the official Debian packages that this work is derived from. Without their efforts to bring Octave packaging to such a high level of quality in Debian and Debian derivatives, this PPA would not be here.
 More info: https://launchpad.net/~octave/+archive/ubuntu/stable
Press [ENTER] to continue or Ctrl-c to cancel adding it.

0% [Connecting to archive.ubuntu.com (185.125.190.39)] [Waiting for headers] [Connecting to ppa.launchpad.net (2620:2d:sHit:1 http://security.ubuntu.com/ubuntu bionic-security InRelease
Ign:2 http://ppa.launchpad.net/octave/stable/ubuntu bionic InRelease
Hit:3 http://archive.ubuntu.com/ubuntu bionic InRelease
Hit:4 http://archive.ubuntu.com/ubuntu bionic-updates InRelease                                      d
Hit:5 http://archive.ubuntu.com/ubuntu bionic-backports InRelease
Err:6 http://ppa.launchpad.net/octave/stable/ubuntu bionic Release
  404  Not Found [IP: 185.125.190.52 80]
Reading package lists... Done
E: The repository 'http://ppa.launchpad.net/octave/stable/ubuntu bionic Release' does not have a Release file.
N: Updating from such a repository can't be done securely, and is therefore disabled by default.
N: See apt-secure(8) manpage for repository creation and user configuration details.

// 제거 방법
$ sudo add-apt-repository ppa:octave/stable --remove
이렇게 오류가 발생합니다. 오류가 발생한 "http://ppa.launchpad.net/octave/stable/ubuntu" 링크를 가보면, ./dists 하위에 있는 각각의 폴더명에 대해
대응하는 코드명은 이렇게 됩니다.
devel
lucid (10.04)
natty (11.04)
oneiric (11.10)
precise (12.04)
quantal (12.10)
saucy (13.10)
trusty (14.04)
vivid (15.04)
xenial (16.04)
18.04의 경우 bionic이고 20.04의 경우 focal이기 때문에 결국 18.04 이후로는 "ppa:octave/stable" repo에서 더 이상 업데이트가 안 된 것입니다. (문서에 2018년까지 유지됐다고 합니다.) 게다가 WSL은 Ubuntu 16.04 버전은 배포를 하지 않기 때문에,
C:\temp> wsl -l -o
The following is a list of valid distributions that can be installed.
Install using 'wsl.exe --install <Distro>'.

NAME                                   FRIENDLY NAME
Ubuntu                                 Ubuntu
Debian                                 Debian GNU/Linux
kali-linux                             Kali Linux Rolling
Ubuntu-18.04                           Ubuntu 18.04 LTS
Ubuntu-20.04                           Ubuntu 20.04 LTS
Ubuntu-22.04                           Ubuntu 22.04 LTS
OracleLinux_8_5                        Oracle Linux 8.5
OracleLinux_7_9                        Oracle Linux 7.9
SUSE-Linux-Enterprise-Server-15-SP4    SUSE Linux Enterprise Server 15 SP4
openSUSE-Leap-15.4                     openSUSE Leap 15.4
openSUSE-Tumbleweed                    openSUSE Tumbleweed
딱히 해볼 것이 없군요. ^^ (
이때까지만 해도 있었는데.)
일단, apt 명령어는 그렇고 또 다른 패키지 관리자로 snap을 이용해 보겠습니다. ^^ 그 전에, 다음의 글에 따라 snap을 활성화시키고,
WSL 2 Ubuntu 20.04 - error: cannot communicate with server: Post http://localhost/v2/snaps/...
; https://www.sysnet.pe.kr/2/0/13317
설치하면,
$ sudo snap install octave
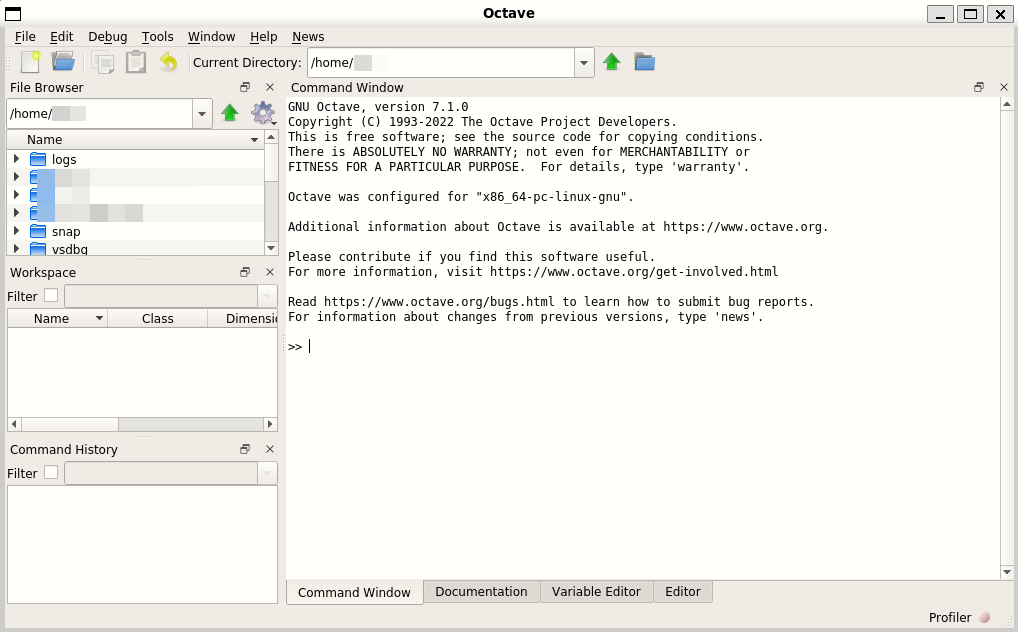
octave 7.1.0 from GNU Octave (octave-snap✓) installed
최신 버전(8.1.0)은 아니지만 7.1.0 버전이 설치됩니다. 뭐 그런대로, 소스코드로부터 빌드하는 것이 아닌 이상 이 정도면 만족해야겠습니다. ^^
마지막으로, WSL 2에서 다음과 같이 실행해 주면,
$ octave --force-gui

// 또는,

$ nohup octave --force-gui &
윈도우 환경과 연계해 이렇게 잘 실행됩니다.
참고로, snap으로 설치한 octave는 이렇게 위치하고 있습니다.
$ ll /snap/octave
total 8
drwxr-xr-x  3 root root 4096 Apr 11 00:09 ./
drwxr-xr-x  9 root root 4096 Apr 11 00:09 ../
drwxr-xr-x 12 root root    0 Apr 21  2022 306/
lrwxrwxrwx  1 root root    3 Apr 11 00:09 current -> 306/

$ ll /snap/octave/306
total 0
drwxr-xr-x  2 root root 0 Apr 21  2022 bin/
drwxr-xr-x 19 root root 0 Apr 21  2022 etc/
drwxr-xr-x  3 root root 0 Apr 21  2022 include/
drwxr-xr-x  7 root root 0 Apr 21  2022 lib/
drwxr-xr-x  3 root root 0 Apr 21  2022 libexec/
drwxr-xr-x  3 root root 0 Apr 21  2022 meta/
drwxr-xr-x  7 root root 0 Apr 21  2022 share/
drwxr-xr-x  3 root root 0 Apr 21  2022 snap/
drwxr-xr-x  7 root root 0 Mar 15  2022 usr/
drwxr-xr-x  4 root root 0 Apr 21  2022 var/
또한, 기본적으로 python 3.6을 포함하고 있습니다.
$ ll /snap/octave/306/usr/bin/python3
lrwxrwxrwx 1 root root 9 Oct 25  2018 /snap/octave/306/usr/bin/python3 -> python3.6*

$ /snap/octave/306/usr/bin/python3.6
Python 3.6.9 (default, Mar 15 2022, 13:55:28)
[GCC 8.4.0] on linux
Type "help", "copyright", "credits" or "license" for more information.
나중에 설명하겠지만, 아쉽게도 7.1.0 버전에서는 위의 python3.6이 Octave의 "
python" 명령에 연결되지 않습니다.
snap으로 설치한 octave를 실행하면 초기에 이런 오류 메시지들이 나옵니다.
$ octave
QStandardPaths: XDG_RUNTIME_DIR points to non-existing path '/run/user/1000/snap.octave', please create it with 0700 permissions.
Fontconfig warning: "/etc/fonts/fonts.conf", line 5: unknown element "its:rules"
Fontconfig warning: "/etc/fonts/fonts.conf", line 6: unknown element "its:translateRule"
Fontconfig error: "/etc/fonts/fonts.conf", line 6: invalid attribute 'translate'
...[생략]...
Fontconfig error: "/etc/fonts/conf.d/90-synthetic.conf", line 5: invalid attribute 'translate'
Fontconfig error: "/etc/fonts/conf.d/90-synthetic.conf", line 5: invalid attribute 'selector'
Fontconfig error: "/etc/fonts/conf.d/90-synthetic.conf", line 6: invalid attribute 'xmlns:its'
Fontconfig error: "/etc/fonts/conf.d/90-synthetic.conf", line 6: invalid attribute 'version'
Fontconfig error: Cannot load config file from /etc/fonts/fonts.conf
처음의 XDG_RUNTIME_DIR 오류는 그 메시지에서 알려주는 대로 다음과 같은 처리를 하면 됩니다.
$ mkdir -p /run/user/1000/snap.octave
$ chmod 0700 /run/user/1000/snap.octave
그다음, fonts.conf에서 발생하는 오류를 검색해 보면, 2.12.x 버전의 config을 사용하는 프로그램이 2.13.x 버전으로 업그레이드된 시스템에서 발생하는 문제라고 합니다. 실제로 제 Ubuntu에는 2.13.1이었는데요,
$ sudo apt show fontconfig
Package: fontconfig
Version: 2.13.1-2ubuntu3
Priority: optional
Section: utils
...[생략]...
그렇다면 아마도 Octave 7.1.0 버전은 2.12.x를 대상으로 빌드된 듯합니다. 이에 대해 딱히 방법은 없는 것 같고, its 네임스페이스를 갖는 노드가 문제가 되는 것이므로 그것만 삭제해 해결했다는 글이 나옵니다. 일례로, 오류가 나는 파일들 중 하나를 보면,
<?xml version="1.0"?>
<!DOCTYPE fontconfig SYSTEM "fonts.dtd">
<!-- /etc/fonts/fonts.conf file to configure system font access -->
<fontconfig>
    <its:rules xmlns:its="http://www.w3.org/2005/11/its" version="1.0">
        <its:translateRule translate="no" selector="/fontconfig/*[not(self::description)]"/>
    </its:rules>

    <description>Default configuration file</description>

    ...[생략]...
</fontconfig>
오류 메시지에서 지적하고 있는 내용이 저렇게 꼭 포함이 됩니다. 그래서 다음의 명령어로 해당 XML 노드를 삭제해 주면 됩니다.
// https://stackoverflow.com/questions/62348866/how-to-fix-fontconfig-warning-unknown-elements-error

$ sudo sed -i '/<description/d; /its\:/d' /etc/fonts/fonts.conf /etc/fonts/conf.d/*conf
그나저나, 혹시
8.1.0 버전을 소스코드 빌드 없이 repo에서 설치하는 방법은 없는 걸까요? ^^ 현재로서는 docker를 이용하는 것이 그나마 나은 듯합니다.
docker pull docker.io/gnuoctave/octave:8.1.0
[이 글에 대해서 여러분들과 의견을 공유하고 싶습니다. 틀리거나 미흡한 부분 또는 의문 사항이 있으시면 언제든 댓글 남겨주십시오.]