System Center 2012 Operations Manager 설치
이번 글에서는 간단하게 SCOM 2012 설치 과정만 화면 캡쳐로 보여드리겠습니다. 사실 다음의 글을 거의 그대로 따라한 것에 지나지 않지만 제 나름대로 정리를 덧붙였으니 참고가 되는 부분이 있을 것입니다. ^^
System Center Operations Manager 2012 Installation Walkthrough
; https://docs.microsoft.com/en-us/archive/blogs/ptsblog/system-center-operations-manager-2012-installation-walkthrough
우선, 설치를 위해 다음의 사전 작업을 해줘야 하는데요. 제 경우에는 3대의 VM을 만들어서 다음과 같이 구성을 했습니다.
VM 1: 1) Active Directory 설치

VM 2: 1) AD 가입
      2) SQL Server 2012 설치 (Collation: Latin1_General_CI_AS)
            Full-Text Search 구성 요소 추가
            SQL Server Agent 서비스 (시작 상태 - Automatic)

VM 3: 0) 메모리 4GB (설치 가능한 최소 메모리는 2GB로 되어 있지만, 실제 사용 시 2GB 초과하게 됨)
      1) AD 가입
      2) ".NET Framework 3.5 Features" 활성
      3) IE Enhanced Security Configuration == Off
      4) Remote Registry NT 서비스 시작
      5) Role 추가:
            Application Server - 기본 선택과 함께 다음의 옵션을 추가 활성
                (*) Web Server (IIS) Support
                - Windows Process Activation Service Support
                    (*) HTTP Activation

            Web Server (IIS) - 기본 선택과 함께 다음의 옵션을 추가 활성
                - Health and Diagnostics
                    (*) Request Monitor

                - Security
                    (*) Windows Authentication

                - Application Development
                    (*) ASP.NET 3.5
                    (*) ASP.NET 4.5
                    (*) CGI

                - IIS 6 Management Compatibility
                    (*) IIS 6 Metabase Compatibility

      6) Microsoft Report Viewer 2010 재배포 가능 패키지 설치
        ; http://go.microsoft.com/fwlink/?LinkId=234118

      7) SQL Server 2012 설치 디스크로부터 Reporting Services - Native 구성 요소 추가
            Reporting 서비스 추가한 다음, "Reporting Services Configuration Manager"를 이용해 VM2의 DB 서버로 Report Server 구성
주의할 것은, SQL Server의 Collation 설정이 SCOM과 맞아야 합니다. 이에 대해서는 다음의 글을 참고하세요.
Clarification on SQL Server Collation Requirements for System Center 2012
; https://techcommunity.microsoft.com/t5/system-center-blog/clarification-on-sql-server-collation-requirements-for-system/ba-p/346198
제 경우에는 기존 설치된 SQL Server의 Collation 설정이 Korean_Wansung_CI_AS으로 되어 있고, 영문 SCOM 2012를 설치하려고 했는데 다음과 같은 오류가 발생했습니다.
This SQL instance collation is not supported. Please select a SQL server and instance with a supported collation. Please see the deployment guide for supported collations.
그래서, "Latin1_General_CI_AS" 설정으로 새롭게 SQL 서버 인스턴스를 설치해야만 했습니다.
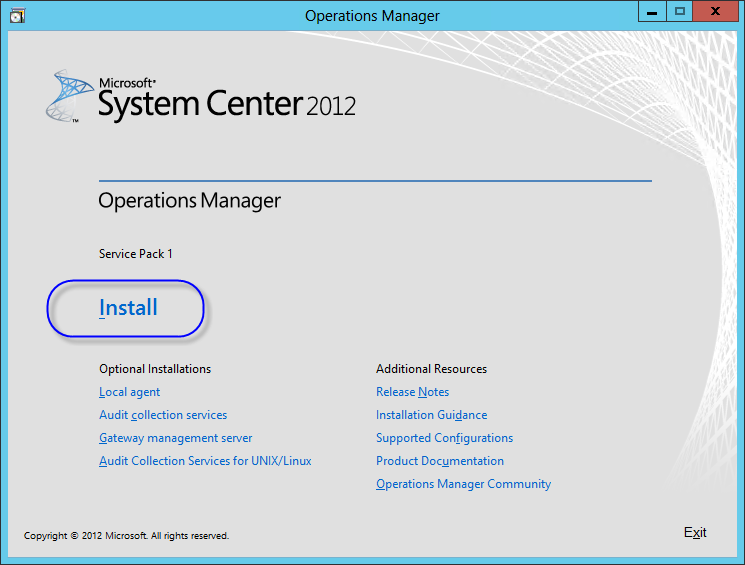
설치 디스크를 넣고 Setup.exe를 실행하면 다음과 같은 화면으로 시작합니다.
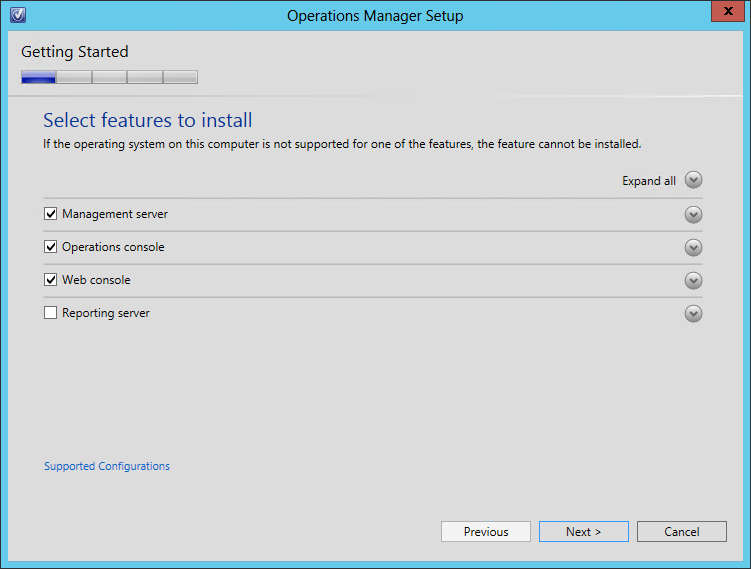
Install 링크를 누르면, Setup 창이 뜨고 설치할 구성 요소를 선택합니다. (아래의 화면에서는 "Reporting server"가 해제되어 있지만, 선택해주는 것이 좋습니다. 왜냐하면 이것이 없으면 AppAdvisor 웹 관리 화면이 동작하지 않습니다.)
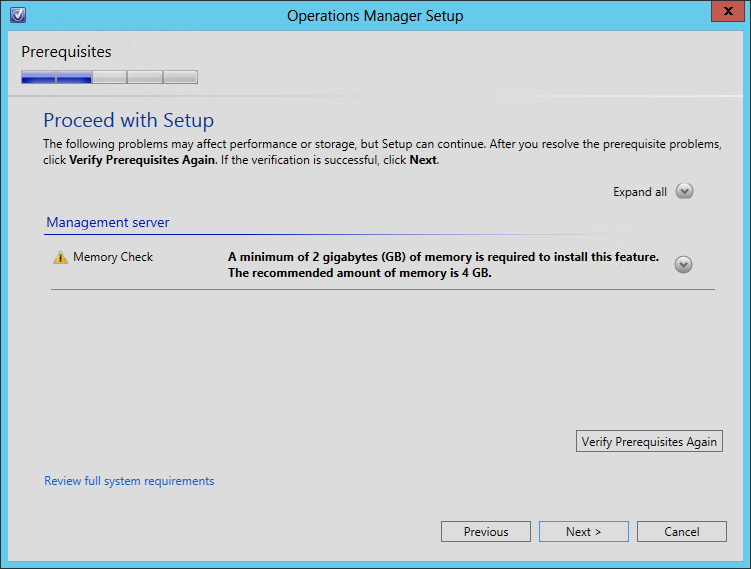
다음 화면에서는 설치 폴더를 묻는데 기본값으로 두고 진행하면 설치에 따른 검증 작업이 진행됩니다. 이전에 사전 작업대로 준비를 했다면 아무런 오류가 없을텐데, 있어도 상관없습니다. 오류에 따라 설정을 그냥 추가해 주시면 됩니다. ^^
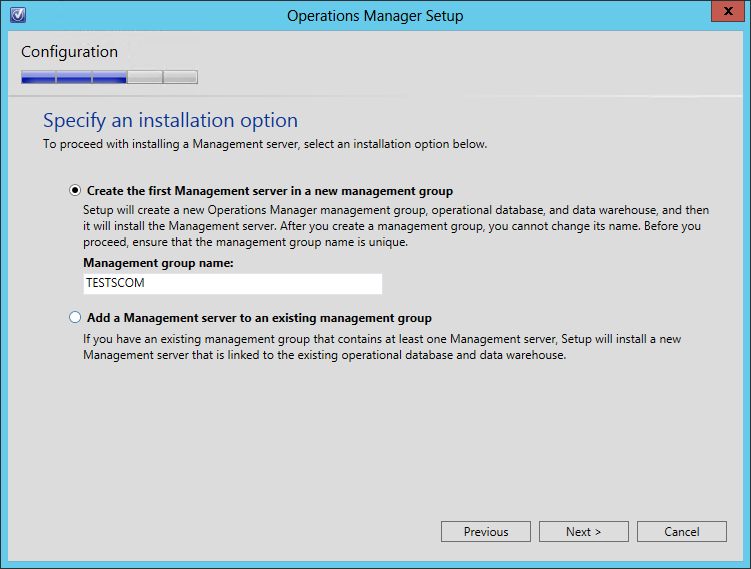
이제 Management Group을 생성해야 하는데요. Active Directory에 첫 번째 Management Server를 설치하는 것이므로 새롭게 그룹 이름을 지정하면 됩니다.
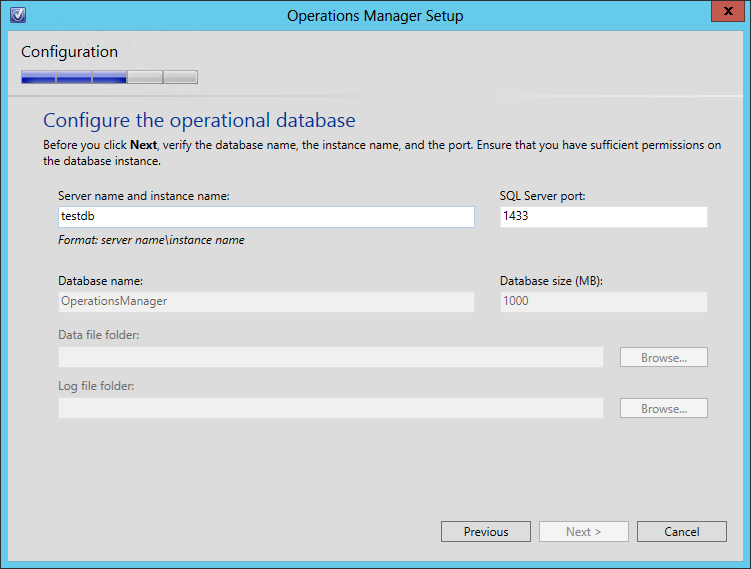
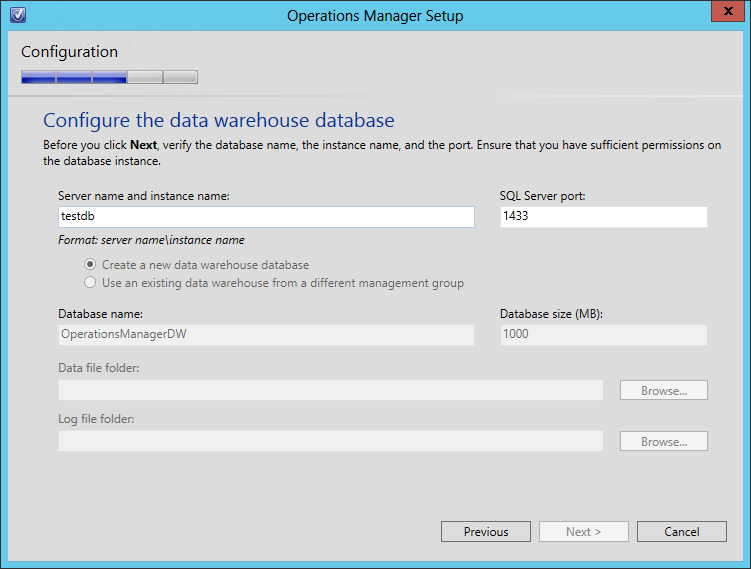
다음은 라이선스 동의창이 나오고, 확인을 누르면 "Operational Database"과 "Warehouse database"에 대한 정보를 입력받는 2가지 단계가 연이어 나옵니다. 여기서 다른 컴퓨터 또는 현재 컴퓨터에 설치한 SQL Server의 연결 정보를 제공합니다.
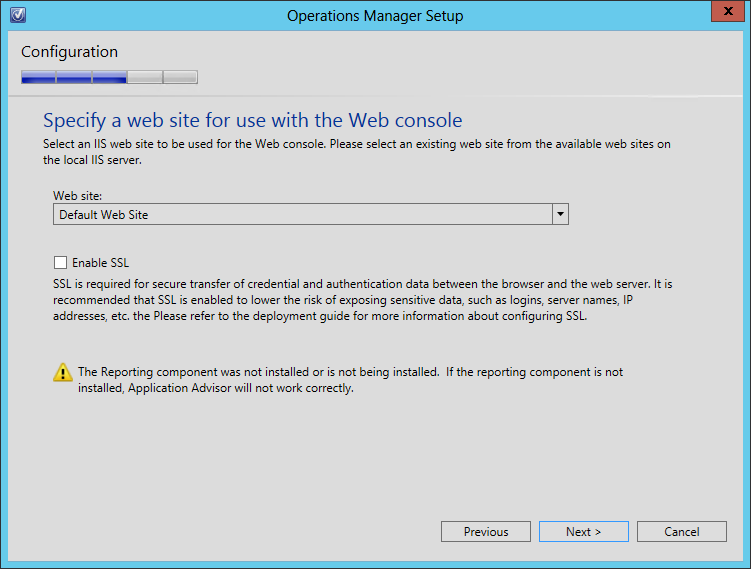
"Web Console"을 위한 웹 사이트도 지정하는데요. 저는 그냥 기본값으로 두고 진행했습니다.
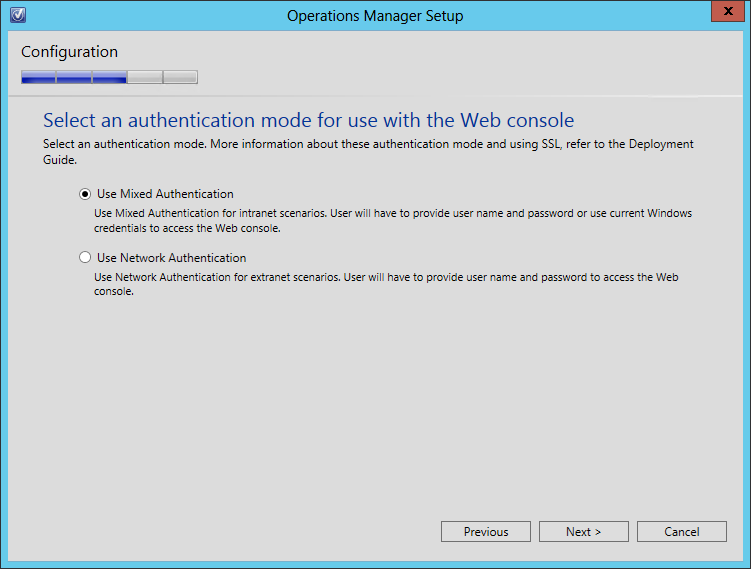
다음은, 웹 사이트에 대한 인증을 선택하는데요. 역시 기본값으로 진행!
이제 서비스를 위한 계정 정보를 입력해야 하는데요.
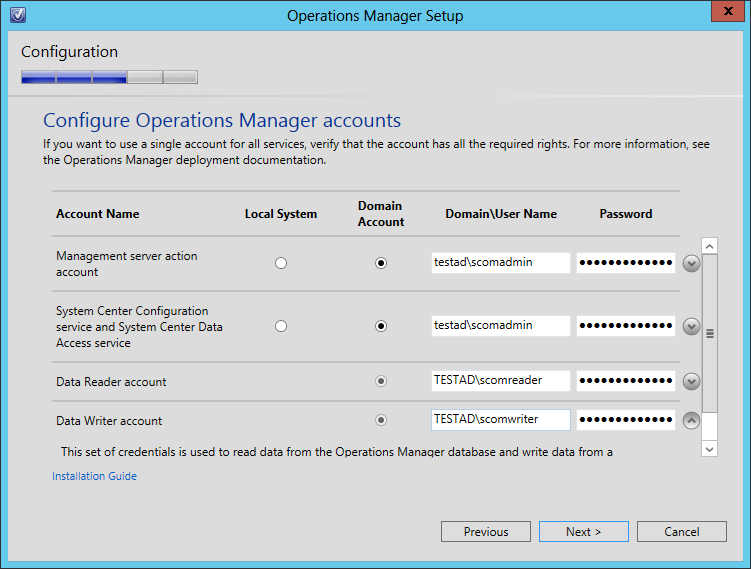
제 경우에는, 이를 위해 다음과 같은 도메인 계정 3개를 생성했습니다.
testad\scomadmin: "Domain Users" 계정
                  SCOM을 설치하는 컴퓨터의 "Local Administrators"그룹에 등록

testad\scomreader: "Domain Users" 계정

testad\scomwriter: "Domain Users" 계정
설치 과정 중에 SQL 서버쪽으로의 보안 설정 같은 것들은 자동으로 처리되기 때문에 계정에 대해서 별도로 해 줄 작업은 없습니다. (계정에 대한 자세한 정보는 화면 좌측 하단의 "Installation Guide" 링크를 누르면 자세하게 살펴볼 수 있습니다.)
그렇긴 해도, 나중에 SCOM 에이전트를 원격 배포할 일이 생기는 경우를 위해 편의상 "scomadmin" 계정에 "Domain Admins" 권한을 주는 것이 좋습니다.
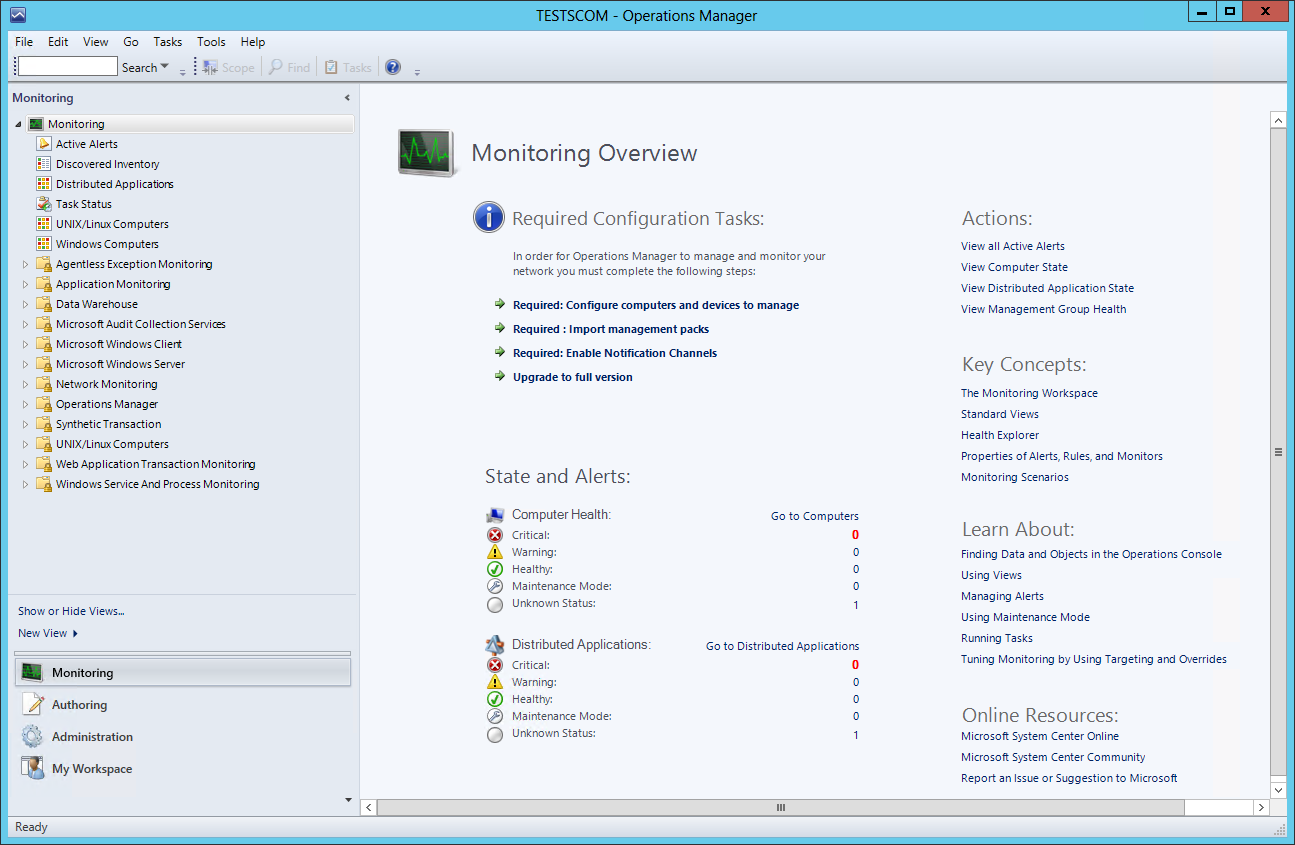
이렇게 설정하고 뒤이은 화면들은 그냥 기본값으로 두고 확인만 누르면 설치 과정이 완료됩니다. 아래는 정상적으로 설치된 Operations Manager가 실행되었을 때의 화면입니다.
시스템 변경 사항을 살펴볼까요?
우선, 다음의 5가지 NT 서비스가 추가됩니다.
- System Center Audit Forwarding : Sends events to a collector for storage in a SQL database.
- System Center Data Access Service : Microsoft System Center Data Access Service.
- System Center Management: The System Center Management service monitors the health of the computer. The service may be configured to monitor the health of other computers in addition to this computer. If this service is stopped, detection of failures may not occur. If this service is disabled, any services that explicitly depend on it will fail to start.
- System Center Management APM: Monitors the health of .NET applications on this computer. If this service is stopped detection of application failures may not occur.
- System Center Management Configuration: Microsoft System Center Management Configuration service.
IIS에는 4개의 Web Application이 추가되고, .NET 2.0/4.0으로 나뉜 3개의 AppPool이 생성됩니다.

테스트 삼아서 다음의 URL을 방문해 보셔도 됩니다.
- http://localhost/OperationsManager/
- http://localhost/AppDiagnostics
- http://localhost/AppAdvisor
참고로, 현재 단계에서는 AppAdvisor를 방문하는 경우 다음과 같은 메시지와 함께 동작이 안될 수 있습니다.
Publishing is in progress
Application Advisor Reports have not finished publishing to the Operations Manager data warehouse database.
Wait about 30 minutes, and then try to start Application Advisor again
무시하시면 됩니다. ^^ 메시지의 내용대로 시간 지나면 해결됩니다.
마지막으로, DB에는 "OperationsManagerDW", "OperationsManager" 2개의 데이터베이스가 만들어져 있습니다.
기타 나머지 사항은, technet의 공식 문서를 참고하세요. ^^
Operations Manager
; https://docs.microsoft.com/en-us/previous-versions/system-center/system-center-2012-R2/hh205987(v=sc.12)
[이 글에 대해서 여러분들과 의견을 공유하고 싶습니다. 틀리거나 미흡한 부분 또는 의문 사항이 있으시면 언제든 댓글 남겨주십시오.]